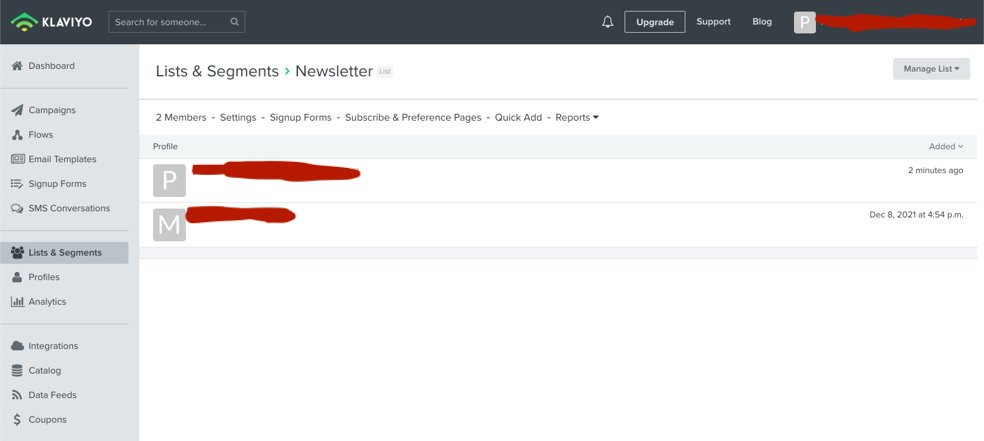
Integrating Klaviyo and Gravity Forms sends the contact information of customers who fill out a form on your site to Klaviyo. In Klaviyo, you can create lists and send emails to these contacts with ease.
1. Install Integration and Sync to Klaviyo
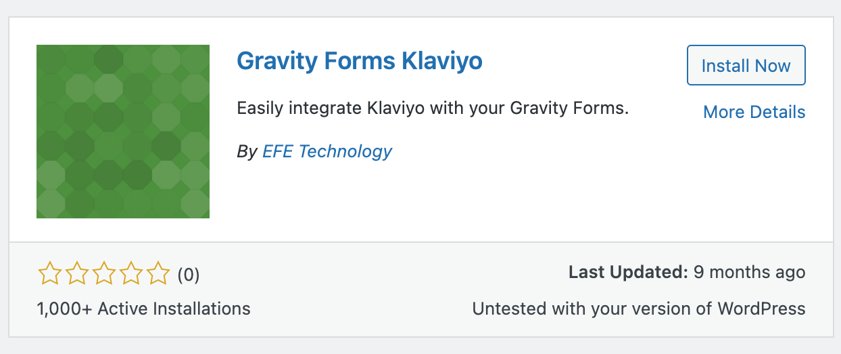
- Go to 'Plugins">"Add New">then search for the "Gravity Forms Kalviyo" Integration. Install this add-on
- Under "Forms">"Settings">Klaviyo will now appear, and you will be able to add the Public API key and Private API key from your Klaviyo account.
2. Finding Klaviyo Keys
- To find your Klaviyo keys that sync to Gravity Forms, you will need to log in to your Klaviyo account.
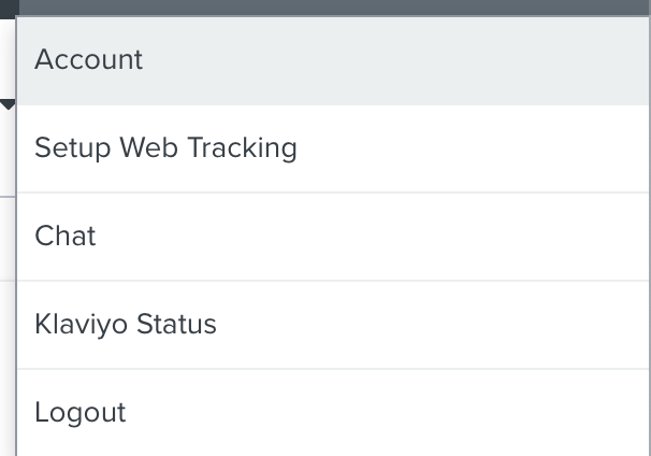
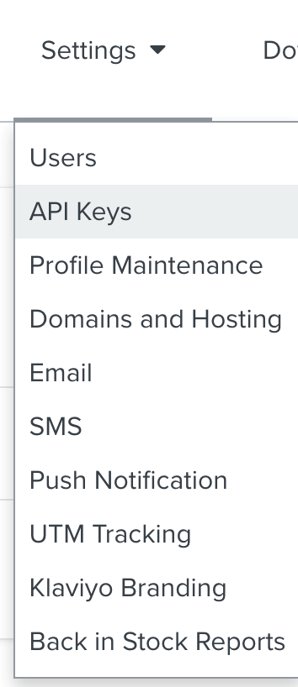
- Once logged in, go to "account" and then "API keys."
- You will see the information need to copy and paste into the settings tab.
3. Create Gravity Form
- Create a form in Gravity Forms as normal
*Note: Klaviyo needs each form to include First Name, Last Name, and Email at minimum
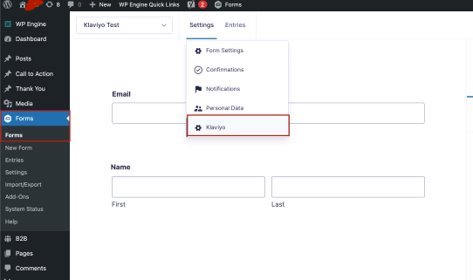
- When your form is created, click "Settings" at the top of the form, then you will be able to select "Klaviyo" to connect the form to the Klaviyo account
4. Create Klaviyo Feed
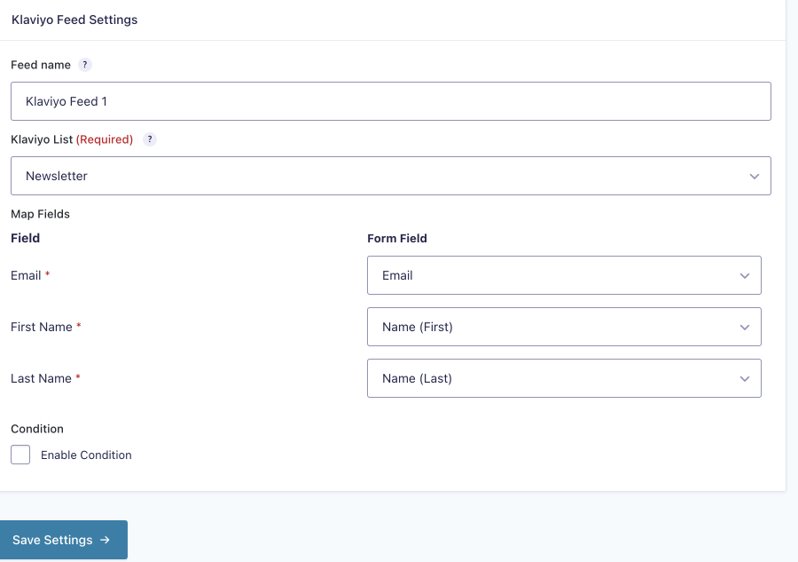
- Create a fed by either clicking "create one" or "add new"
- Add a "Feed Name"
- Then, select the Klaviyo list that you would like the contact who fills out the form to sync to.
- Finally, sync all of the form fields that you want to show up in this list.
- Once the form is synced, anyone who fills it out will now upload it to the list that they are synced to.

